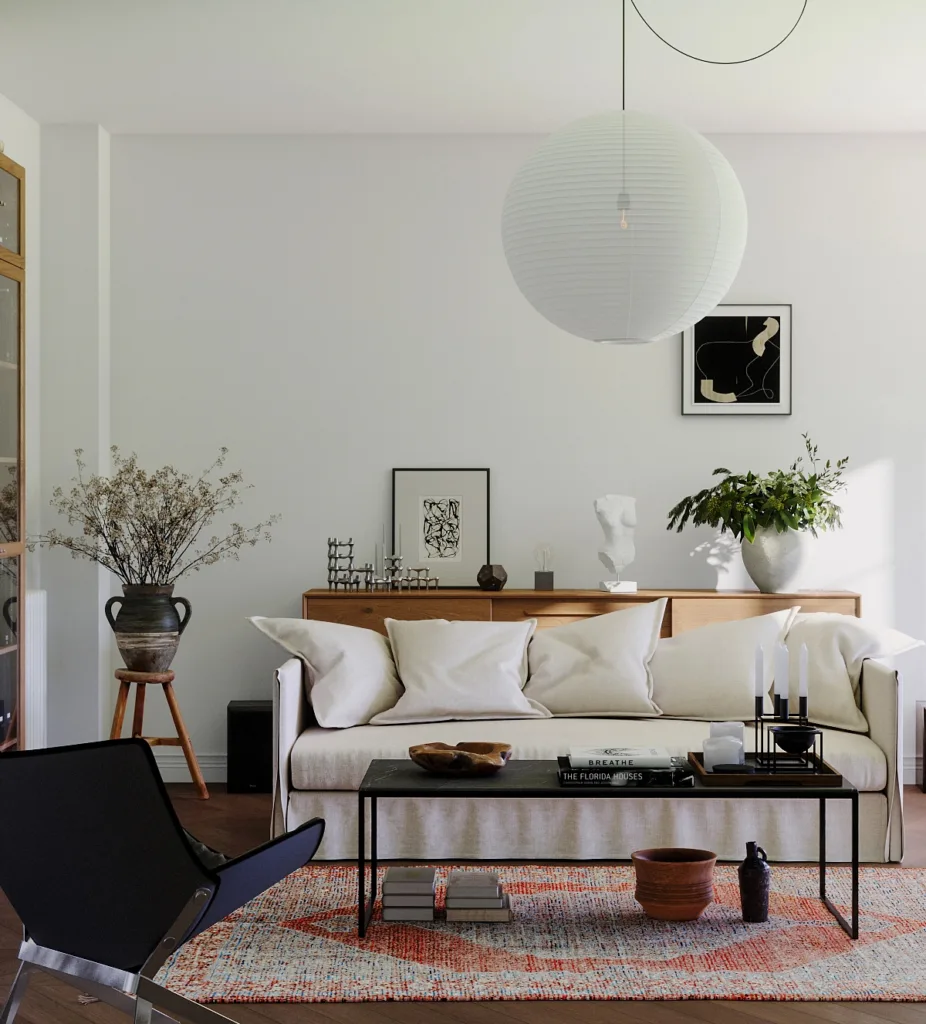
Welcome to our comprehensive guide on how to achieve breathtaking interior renderings that will elevate your design projects to new heights. Rendering is a crucial aspect of the design process, allowing you to showcase your vision and impress clients with realistic visualizations. In this step-by-step blog, we’ll walk you through the entire process of achieving outstanding interior rendering, so you can optimize your content and attract more traffic to your business’s website. Let’s dive in!

Step 1: Gather Your Tools and Software
Before you start the rendering process, make sure you have the necessary tools and software. Popular choices include Autodesk 3ds Max, SketchUp, or Blender for 3D modeling, and V-Ray or Corona Renderer for rendering. Ensure that your hardware meets the software requirements for optimal performance.
Step 2: Plan Your Interior Design for Effective Rendering
Begin by planning your design concept. Consider the layout, color scheme, lighting, and materials you want to showcase. Having a clear vision of your design will guide you throughout the rendering process, making your interior rendering more effective.
Step 3: Model the Interior Space for Stunning Rendering Results
Use your chosen 3D modeling software to create a detailed representation of the interior space. Pay attention to scale, proportions, and realistic details. This step lays the foundation for a convincing rendering that will stand out in search results for “interior rendering.”
Step 4: Set Up Lighting to Enhance Rendering Realism
Proper lighting is key to achieving realistic interior renderings. Experiment with different lighting scenarios to find the perfect balance. Consider natural light sources, artificial lighting fixtures, and their impact on the overall atmosphere for an authentic rendering experience.
Step 5: Choose Materials and Textures to Elevate Rendering Quality
Select appropriate materials and textures for each element in your scene. Whether it’s wood, metal, fabric, or glass, realistic textures contribute to the authenticity of your rendering. Adjust material properties to achieve the desired level of reflectivity, roughness, and color for high-quality interior rendering.
Step 6: Fine-Tune Camera Settings for Striking Shots
Configure your camera settings to capture the scene from the best angles. Adjust the field of view, focal length, and depth of field to create visually appealing compositions. Experiment with different camera angles to highlight key design elements for exceptional rendering shots.
Step 7: Render the Scene
Once you’re satisfied with your setup, initiate the rendering process. Depending on your software and hardware capabilities, this step may take some time. Be patient, as the final result will be worth the wait, providing you with professional results.
Step 8: Post-Processing
After rendering, use post-processing tools to enhance your images further. This may include adjusting brightness, contrast, color balance, and adding effects such as bloom or lens flares. Strive for a balance that enhances realism without overdoing it, improving your final images.
Step 9: Review and Refine Your Interior Rendering for Perfection
Review your rendering critically. Identify areas that may need improvement and refine them accordingly. Pay attention to small details, as they can significantly impact the overall quality of your visualization, ensuring perfection in your rendering.
Conclusion:
By following these step-by-step guidelines, you can master the art of interior rendering and create visuals that captivate your clients and audience. Don’t forget to regularly update your portfolio with new projects to showcase the breadth of your skills. Happy rendering!